
Master Your Machine: The Complete 2026 Guide on How to Clean a Dyson Animal Cordless Vacuum
You have invested in a Dyson Animal cordless vacuum because you wanted pet hair annihilation and floor-to-ceiling convenience. But after a few months of tackling shedding season, you might notice a distinct drop in suction power, a strange odor emanating from the cyclones, or a brush bar that has stopped spinning entirely. The culprit is not a mechanical failure; it is a buildup of debris, dust, and tangled hair that has clogged the very system designed to capture it. Learning how to clean your Dyson Animal cordless vacuum is not just about aesthetics—it is the single most important maintenance task to restore peak performance and extend the life of your expensive appliance.
This comprehensive guide will walk you through every component of your Dyson V8, V10, V11, V12, or V15 Animal model, providing step-by-step instructions for a deep clean. By the end, you will understand why regular maintenance is critical, how to safely disassemble each part, and what common mistakes to avoid. Whether you are dealing with a smelly filter, a jammed brush bar, or a full bin that refuses to empty, this article will equip you with the knowledge to bring your vacuum back to "like new" condition in under 30 minutes.
Why Regular Cleaning is Non-Negotiable for Your Dyson Animal
The Dyson Animal cordless series is engineered with powerful cyclonic technology that spins dust and debris out of the air. However, this system relies on a clear path for airflow. When pet hair, fine dust, and carpet fibers accumulate in the bin, on the filter, or inside the brush bar housing, they create a bottleneck. This restriction forces the motor to work harder, drains the battery faster, and significantly reduces the vacuum's ability to pick up dirt. A clogged machine can lose up to 50% of its suction power, making it ineffective on carpets and hard floors.
Beyond performance, hygiene is a major concern. A dirty Dyson Animal can become a breeding ground for bacteria and mold, especially if you vacuum up wet debris or pet accidents. The filter, which is designed to capture microscopic allergens, will eventually become saturated. When this happens, the vacuum can actually blow stale, musty air back into your home, negating the benefits of cleaning. Regular cleaning of the filter and bin prevents these odors and ensures that the air expelled is cleaner than the air in the room.
Finally, neglecting maintenance leads to costly repairs. The most common failure point in a Dyson Animal cordless is the brush bar motor, which seizes up when hair wraps tightly around the bearings. Similarly, the battery life degrades faster when the motor is constantly under strain from a clogged system. By dedicating 15 minutes every month to a thorough clean, you can avoid the frustration of a broken vacuum and the expense of replacement parts. This proactive approach is the secret to keeping your Dyson running at full power for years.
Step-by-Step: Disassembling and Cleaning the Bin and Cyclones
The first and most obvious component to clean is the dust bin. Start by removing the bin from the main body of the vacuum. On most Dyson Animal models (V8, V10, V11, V12, V15), there is a red slider or latch at the top of the bin. Slide this to release the bin and pull it away from the machine. Next, locate the bottom release catch to empty the contents into a trash bag. Do this over a trash can to avoid a dust cloud. For a deep clean, you need to remove the cyclone assembly. Look for a small red button or lever near the top of the bin where it connects to the cyclones. Press this to separate the clear bin from the cyclone shroud.
Once separated, take the clear bin to a sink or outdoor hose. Rinse it thoroughly with cold water only. Never use hot water, as it can warp the plastic seals. Use a soft brush or a bottle brush to scrub away any caked-on dirt or sticky residue from the interior walls. Pay special attention to the rubber seal at the bottom of the bin, as this is where fine dust often accumulates and causes the bin to leak. After rinsing, shake off the excess water and set the bin aside to dry completely for at least 24 hours. Do not reassemble while wet, as moisture can damage the motor.
The cyclone assembly is more delicate. Do not submerge the cyclones in water. Instead, use a soft, dry brush or a microfiber cloth to wipe away the dust and hair wrapped around the cones. For stubborn debris trapped inside the cyclone openings, use a can of compressed air to blow it out from the inside out. You can also tap the cyclone assembly gently against a hard surface to dislodge loose particles. Once both the bin and cyclones are clean and dry, reassemble them by snapping the bin back onto the cyclone shroud. Reattach the assembly to the vacuum body until you hear a click.
The Filter: Your Vacuum's Lungs and How to Wash Them Properly
The washable filter is the most critical component for maintaining suction and air quality in your Dyson Animal cordless. Depending on your model, you have either one or two filters. On the V8 and V10, the filter is located at the back of the machine, behind a translucent cover. On the V11, V12, and V15, the filter is a large cylindrical unit on the back of the vacuum. To remove it, simply twist the filter cap counterclockwise and pull it straight out. For models with a rear cover, press the release button and lift the cover off to access the filter.
Washing the filter is straightforward but requires patience. Take the filter to a sink and run it under cold tap water. Do not use any soap, detergent, or cleaning chemicals, as these can damage the filter media and leave a residue that reduces filtration efficiency. Gently squeeze the filter to work the water through the pleats, continuing until the water runs clear. You will be shocked at how much brown or gray water comes out initially. Keep squeezing and rinsing until the water is completely clear. This ensures all trapped dust and allergens have been removed.
The most important rule of filter maintenance is patience during drying. A wet filter will ruin your vacuum. After washing, gently squeeze out as much water as possible. Then, wrap the filter in a clean, dry towel and squeeze again to absorb additional moisture. Place the filter in a warm, well-ventilated area away from direct sunlight or heat sources. It must be completely dry to the touch, which can take 24 to 48 hours. Never put a damp filter back into the vacuum. A good practice is to wash your filter every month and keep a spare filter on hand so you can rotate them without downtime.
The Brush Bar: Untangling Hair and Clearing Blockages
The brush bar on your Dyson Animal is the frontline soldier against pet hair, and it takes the most abuse. When the brush bar stops spinning or makes a clicking noise, it is almost always due to hair and string wrapped tightly around the axle. To access it, first ensure the vacuum is turned off and the battery is removed. Then, locate the release catch on the side of the brush bar housing. On most models, this is a red tab or a coin-slot mechanism. Slide or twist it to release the brush bar, and pull it straight out of the housing.
With the brush bar removed, you will see a tangled mess of hair, thread, and carpet fibers. Use a pair of scissors or a seam ripper to carefully cut through the hair wrapped around the bristles and the plastic axle. Work slowly to avoid cutting the bristles themselves. For hair wrapped tightly around the end caps, use a small screwdriver or your fingers to pull it free. Once the brush bar is clear of all debris, inspect the bearings on the ends. They should spin freely. If they feel gritty or stuck, you may need to replace the brush bar assembly.
While the brush bar is out, check the housing for blockages. Look into the air path where the brush bar sits and remove any large debris, coins, or clumps of hair. Also, check the neck of the vacuum where the hose connects to the floor head. This is a common spot for blockages that cause the brush bar to stop spinning. Use a long, flexible object like a broom handle or a drain snake to push out any clogs. After cleaning, reinsert the brush bar by aligning the end caps with the slots in the housing and pushing firmly until it clicks back into place. Spin it manually to ensure it moves freely.
Deep Cleaning the Wand, Hose, and Charging Contacts
The and hose are often overlooked, but they can harbor hidden blockages that dramatically reduce suction. To clean the wand, detach it from the vacuum body and the floor head. Hold it up to a light source and look through it. If you see a dark spot or a clump of debris, you have a blockage. Use long, flexible tool like a plumbing snake or a straightened wire coat hanger with a hook on the end to pull the clog out. You can also run water through the wand if the debris is wet or sticky, but ensure it is completely dry before reattaching.
For models with a flexible hose (like the V8 or V10), the hose can be a trap for hair and dust. Detach the hose from the vacuum and the wand. Look for kinks or bends that might indicate a blockage. You can use a long brush or a vacuum attachment to clean the inside of the hose. If the hose has a strong odor, you can wash it with a mild solution of water and white vinegar. Rinse thoroughly and hang it to dry completely. A clogged hose is a silent performance killer, so checking it every few months is a smart habit.
Finally, do not forget the charging contacts. Over time, dust and grime can build up on the metal contacts on the vacuum and the charging dock. This can cause intermittent charging or a complete failure to charge. Use a dry microfiber cloth or a cotton swab dipped in rubbing alcohol to gently clean the metal prongs on the vacuum and the corresponding slots on the dock. Allow the alcohol to evaporate completely before placing the vacuum on the charger. This simple step can solve many battery-related issues and ensure your Dyson is always ready to go when you need it.
Key Takeaways
- ✓ Wash the filter with cold water only every month and let it dry for 24-48 hours before reinserting to maintain peak suction and prevent odors.
- ✓ Remove and clean the brush bar regularly to prevent hair wrap that can seize the motor and stop the brush from spinning.
- ✓ Rinse the dust bin with cold water and scrub it clean to remove sticky residue and prevent bacterial growth.
- ✓ Check the wand, hose, and floor head for hidden blockages that can silently reduce suction power by up to 50%.
- ✓ Clean the charging contacts with rubbing alcohol to ensure reliable charging and extend battery life.
Frequently Asked Questions
How often should I clean the filter on my Dyson Animal cordless vacuum?
You should wash the filter at least once a month under normal use. If you have multiple pets or vacuum large areas daily, wash it every two weeks. The filter should be tapped out or brushed free of loose dust after every few uses. Never let the filter become completely clogged, as this will strain the motor and reduce suction.
Can I use soap or detergent to wash the Dyson filter?
No. You should only use cold tap water to wash the Dyson filter. Soap, detergent, or any cleaning chemicals can leave a residue that clogs the filter pores and reduces its ability to trap fine dust and allergens. This residue can also break down the filter material over time. Stick to water only for the best results.
My Dyson brush bar stopped spinning. What should I do?
First, turn off the vacuum and remove the battery. Then, remove the brush bar from the floor head. Check for hair, string, or carpet fibers wrapped tightly around the axle and end caps. Cut away all debris with scissors. If the brush bar is clear but still not spinning, check the floor head for a blockage in the air path. If the motor in the brush bar is burned out, you will need to replace entire brush bar assembly.
Why does my Dyson Animal smell bad when I use it?
A bad smell is usually caused by a dirty filter or debris trapped in the bin or brush bar. Wash the filter thoroughly and let it dry completely. Also, empty and rinse the dust bin, paying attention to the rubber seal. If the smell persists, check the hose and wand for wet debris or mold. Vacuuming up damp material can also cause odors, so ensure everything is dry before storage.
Is it safe to put my Dyson vacuum parts in the dishwasher?
Absolutely not. Do not put any Dyson parts in the dishwasher. The high heat and harsh detergents will warp the plastic, damage the seals, and ruin the filter. All parts should be hand-washed with cold water and air-dried completely before reassembly.
Conclusion
Keeping your Dyson Animal cordless vacuum in top condition is not a complicated task, but it does require consistency. By following the steps outlined in this guide—cleaning the bin, washing the filter, untangling the brush bar, and checking for blockages—you can restore lost suction, eliminate odors, and prevent costly breakdowns. The key is to make this maintenance a regular part of your cleaning routine, not just a reaction to a problem. A well-maintained Dyson will pick up more pet hair, last longer, and keep your home's air cleaner.
Now is the perfect time to give your vacuum the attention it deserves. Set a reminder on your phone for the first of every month to perform a quick clean. If you have not washed your filter in a while, start there. If your brush bar is tangled, tackle that next. Your Dyson Animal is a powerful machine, but it relies on you to keep its airways clear. Take action today, and you will be rewarded with a vacuum that performs like new for years to come.

Liam Parker covers robot vacuums, cordless vacuums, and smart home cleaning technology, focusing on practical comparisons, features, performance, and buying advice.
Related posts
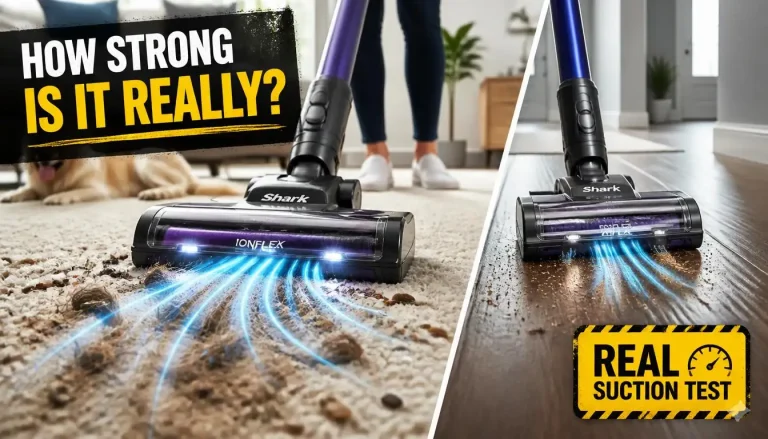 Shark IonFlex Suction Power: How Strong Is It Really?
If you are wondering how much suction does the shark ionflex cordless vacuum have, the answer depends entirely on which power mode you select. In standard…
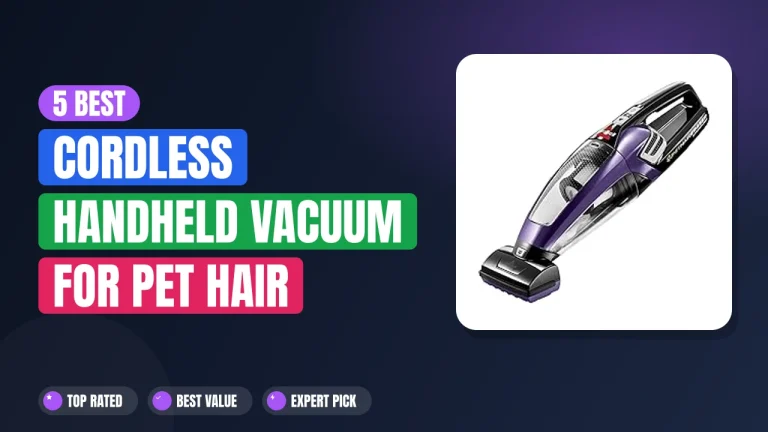 5 Best Cordless Handheld Vacuum for Pet Hair 2026
Every dog owner knows the battle of fur on furniture and car seats. Finding the right best cordless handheld vacuum for pet hair comes down to…
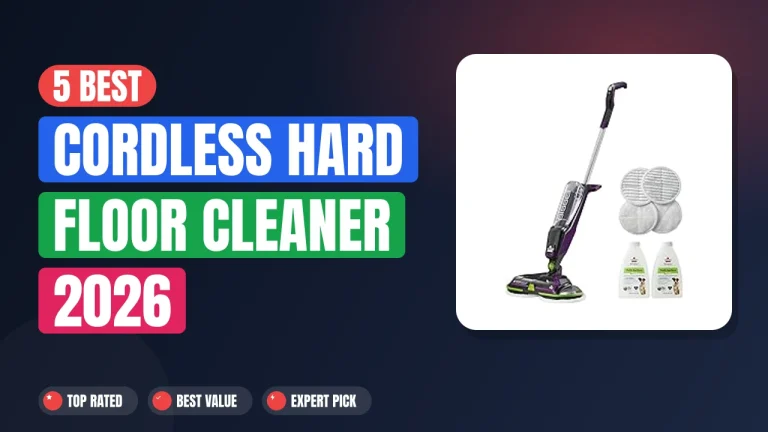 5 Best Cordless Hard Floor Cleaner 2026
Keeping hard floors clean without the hassle of cords is something many homeowners now expect from their daily routine. A best cordless hard floor cleaner…