
The Ultimate Guide to Cleaning Your Dyson Cordless Vacuum in 2026: Restore Peak Suction and Extend Lifespan
Preparing Your Workspace and Gathering the Right Tools
Before you begin disassembling your vacuum, it is essential to prepare a clean, well-lit workspace. A large, flat surface like a kitchen counter or a garage workbench is ideal. Lay down an old towel or a newspaper to catch any dust and debris that will fall out during disassembly. You will also need a small bowl of warm water, a soft-bristled brush (an old toothbrush works perfectly), and a microfiber cloth. For the filter cleaning step, you will need access to a sink with running water.
The most important tool you need is patience, specifically for the drying phase. Many users rush this step and reassemble a damp vacuum, which leads to mold growth and motor damage. You will also need a coin or a flat-head screwdriver to unlock the bin release mechanism on most Dyson models. For models with a removable battery, like the V11 or V15, have a small Phillips-head screwdriver ready if you plan to remove the battery for deep cleaning around the contacts.
Finally, ensure your vacuum is completely powered off and unplugged from the charger. If your model has a removable battery, take it off now. This is a critical safety step that prevents accidental activation of the motor while you are cleaning the brush bar or the cyclone assembly. Once the battery is removed, press the trigger for a few seconds to discharge any residual power in the capacitors.
Emptying and Deep Cleaning the Dust Bin
The dust bin is the first component that needs attention. While you likely empty it after every use, a deep clean is necessary to remove fine dust that cakes onto the inner walls and the rubber gasket. Start by pressing the bin release button and pulling the bin away from the main body. Take the bin to a trash can and press the bottom release latch to empty the contents. Tap the bin gently against the inside of the trash can to dislodge any stubborn clumps of hair or debris.
Next, locate the rubber gasket at the top of the bin where it seals against the cyclone. This gasket is a common spot for fine dust to accumulate, breaking the seal and causing air leaks that reduce suction. Use your soft-bristled brush to scrub the gasket thoroughly, removing all visible dust. Then, use a damp microfiber cloth to wipe down the entire interior and exterior of the bin Do not use soap or detergent, as residues can interfere with the cyclone's ability to separate dust from air.
For a truly deep clean, you can wash the bin with warm water. However, you must ensure it is 100% dry beforeembly. Shake off excess water and place the bin upside down on a drying rack for at least 24 hours. A common mistake is to dry the bin with a hairdryer, can warp the plastic. Patience is key here. Once dry, reattach the bin to the main body, ensuring you hear a click that confirms it is locked in place.
Washing and Drying the Pre-Filter and Post-Filter
Your Dyson cordless vacuum has two filters: a washable pre-filter located behind the bin and a post-filter (often called the HEPA filter) located at the top of the machine. Both filters need to be cleaned every one to three months, depending on usage. To access the pre-filter, press the button on top of the cyclone assembly and lift it off. The pre-filter is the cylindrical mesh piece. Remove it and tap it gently over a trash can to remove loose dust.
Rinse the pre-filter under cold running water only. Do not use any detergent, soap, or brush on the filter material itself, as this can damage the fibers. Gently squeeze the filter from the top and bottom to work the water through the material. Continue rinsing until the water runs clear. For the post-filter, locate it at the top rear of the machine (it is usually a rectangular or cylindrical unit). Remove it and rinse it under cold water in the same manner.
The drying process is non-negotiable. Both filters must be completely dry for at least 24 hours before being reinstalled. Place them in a warm, well-ventilated area away from direct sunlight or radiators. Do not put them in a microwave, dishwasher, or tumble dryer. A damp filter will cause the motor to work harder, reduce suction, and can lead to a foul smell. Once dry, reinstall the pre-filter first, then the post-filter, ensuring they are seated firmly.

Liam Parker covers robot vacuums, cordless vacuums, and smart home cleaning technology, focusing on practical comparisons, features, performance, and buying advice.
Related posts
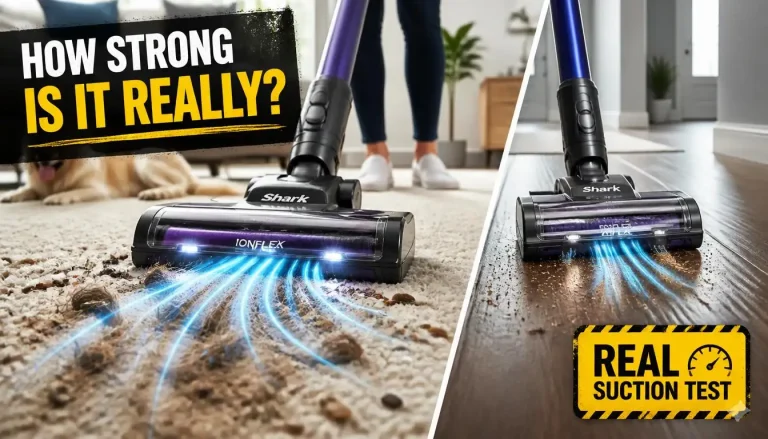 Shark IonFlex Suction Power: How Strong Is It Really?
If you are wondering how much suction does the shark ionflex cordless vacuum have, the answer depends entirely on which power mode you select. In standard…
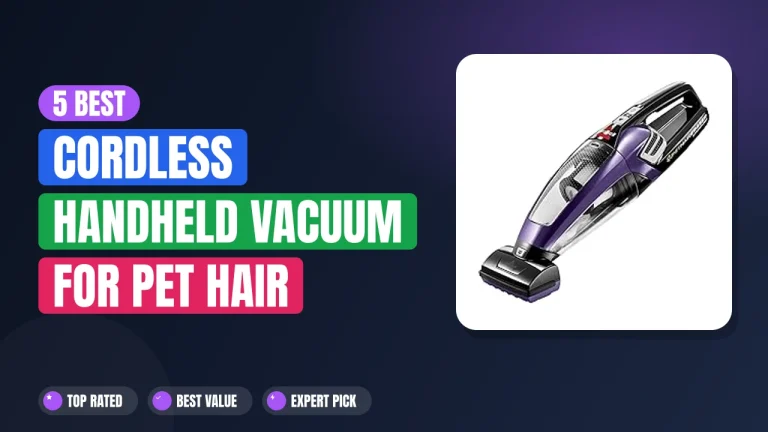 5 Best Cordless Handheld Vacuum for Pet Hair 2026
Every dog owner knows the battle of fur on furniture and car seats. Finding the right best cordless handheld vacuum for pet hair comes down to…
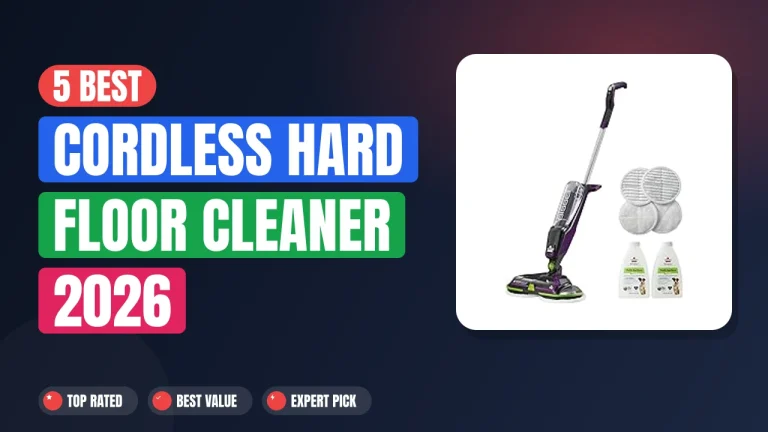 5 Best Cordless Hard Floor Cleaner 2026
Keeping hard floors clean without the hassle of cords is something many homeowners now expect from their daily routine. A best cordless hard floor cleaner…