
Master Your Machine: The Complete Guide to Cleaning Your Dyson V11 Cordless Vacuum in 2026
You have invested one of the most powerful cordless vacuums on the market, but even the best technology needs regular maintenance to perform at its peak. The Dyson V11 is a marvel of engineering, using advanced cyclonic technology and a high-torque cleaner head to capture microscopic dust and allergens from your home. However, without proper cleaning, your vacuum can lose suction, overheat, and even develop unpleasant odors that spread through your living space instead of eliminating them.
This comprehensive guide will walk you through every step of cleaning your Dyson V11, from the simple daily tasks to the deep-cleaning procedures that restore your machine to factory performance. By following these instructions, you will extend the life of your vacuum, maintain its powerful suction, and ensure that every cleaning session leaves your home truly fresh. Whether you are a first-time Dyson owner or a seasoned user looking to optimize your maintenance routine, this article provides the actionable advice you need for 2026 and beyond.
Understanding Your Dyson V11 Anatomy and Maintenance Schedule
Before you begin cleaning, it is essential to understand the key components of your Dyson V11 that require regular attention. The main parts include the bin and cyclone assembly, the pre-filter and post-filter, the cleaner head (floor nozzle), the wand and handheld components, and the battery connection points. Each of these parts collects debris and dust in different ways, and neglecting any one of them can compromise the entire system. The V11’s LCD screen is also a helpful tool, as it will display alerts when the filter needs washing or when there is a blockage.
Establishing a regular maintenance schedule is the best way to keep your vacuum running smoothly. For daily use, you should empty the bin when it reaches the MAX line and check the cleaner head for tangled hair or string. On a weekly basis, inspect the wand and hose for blockages by looking through the clear sections. The most critical task is washing the filters every one to three months, depending on how frequently you vacuum. If you have pets or a large home, you may need to clean the filters monthly. The battery contacts should be wiped clean every few months to ensure a strong connection and efficient charging.
A common mistake owners make is waiting until the vacuum loses suction before performing maintenance. By then, the damage to the motor and filters may already be significant. Instead, treat your V11 like a high-performance tool that requires proactive care. Set a recurring reminder on your phone to check the filters and deep-clean the machine. This simple habit will save you money on replacement parts and keep your vacuum performing like new for years.
Step-by-Step Guide to Emptying and Cleaning the Dyson V11 Bin
The bin is the most frequently used component and the one that collects the bulk of the debris. To empty it properly, first ensure the vacuum is turned off and disconnected from the charger. Press the red bin release button located near the handle, and the bin will slide down. Hold the vacuum over a trash can, then press the red button again to open the bottom flap. For a hygienic emptying process, hold the bin close to the trash can to minimize dust clouds. If you are dealing with fine dust or allergens, consider wearing a mask during this step.
Over time, debris can become compacted inside the bin, especially if you vacuum up wet materials or large clumps of dirt. To deep-clean the bin, remove it completely from the vacuum by pressing the release button and sliding it off. Take the assembly to a sink or outdoors. Use a soft brush or a dry cloth to wipe away any stubborn debris clinging to the inner walls. You can also use a can of compressed air to blow out dust from the crevices. Never use water or liquid cleaners on the bin, as moisture can damage the cyclone assembly and promote mold growth.
Pay special attention to the rubber seal at the bottom of the bin. This seal is responsible for keeping dust contained, and if it becomes dirty or warped, you will experience leaks. Wipe the seal with a dry microfiber cloth to remove any buildup. If the seal appears damaged, replacement parts are readily available from Dyson. Once the bin is clean and dry, reattach it by sliding it back onto the vacuum until you hear a click. A properly maintained bin ensures that all the debris you collect stays inside until you are ready to dispose of it.
The Critical Task of Washing and Drying Your Dyson V11 Filters
The Dyson V11 features two filters: a pre-filter located behind the bin and a post-filter (HEPA-style) located at the top of the machine near the handle. Both filters are washable, which is a significant advantage over disposable filters. To access the pre-filter, press the button on the top of the cyclone assembly and lift it off. The pre-filter is a cylindrical foam piece. The post-filter is accessed by twisting the cap at the top of the vacuum and pulling it out. It is a larger, pleated fabric filter.
Washing the filters correctly is crucial to avoid damaging them. First, tap both filters gently over a trash can to remove dust. Then, hold them under cold running water. Do not use any soap, detergent, or chemicals, as these can clog the filter fibers and reduce performance. Gently squeeze the filters to work the water through the material, but do not twist or wring them, as this can tear the fabric. Continue rinsing until the water runs clear. For the post-filter, you may need to rinse it for several minutes to remove deeply embedded dust.
The most common mistake people make is not allowing the filters to dry completely before reinstalling them. A wet filter can cause mold growth, damage the motor, and produce a musty smell. After washing, gently shake off excess water and place the filters in a warm, well-ventilated area. Do not use a hair dryer, radiator, or microwave to speed up the drying process, as heat can warp the filter material. Allow at least 24 hours for the filters to dry fully. Once they are completely dry, reassemble them in correct order: pre-filter first, then the cyclone, and finally the post-filter. Your vacuum’s LCD screen will stop displaying the filter alert once the machine detects the clean, dry filters.
Clearing Blockages and Cleaning the Cleaner Head and Wand
Blockages are the number one cause of sudden suction loss in the Dyson V11. The most common places for blockages are the main cleaner head, the wand connection points, and the bend in the wand near the handle. To check for blockages, first remove the cleaner head by pressing the release button on the wand. Look through the clear wand section; if you see a clump of debris, use a long, blunt object like a broom handle or a Dyson blockage removal tool to push it out. Never use sharp objects that could puncture the plastic.
The cleaner head, also known as the floor, requires special attention because it comes into direct contact with hair, carpet fibers, and debris. Turn the cleaner head over and look at the brush bar. Hair and string will wrap tightly around the bar, especially if you have long hair or pets. To remove this hair, use the integrated hair-clearing tool that came with your V11, or use a pair of scissors and a seam ripper. Carefully cut through the hair along the grooves of the brush bar, then pull it free. For the V11’s High Torque cleaner head, you can also remove the brush bar entirely by sliding the red switch on the side and pulling the bar out for a thorough cleaning.
Do not forget to clean the small wheels and the underside of the cleaner head. Dirt can build up here and prevent the nozzle from gliding smoothly across your floors. Use a damp cloth to wipe down the plastic housing and the wheels. Also, check the small rubber flaps on the cleaner head; these help to create suction and can become clogged with fine dust. A clean cleaner head not only improves suction but also prevents scratches on hard floors and ensures deep cleaning on carpets. After clearing all blockages and cleaning the head, reattach it and run the vacuum on a low-pile carpet to confirm that suction has been restored.
Maintaining the Battery, Charger, and Overall Machine Hygiene
The Dyson V11’s lithium-ion battery is a sophisticated component that requires gentle care. To maximize battery life, avoid letting the battery drain completely to zero percent before recharging. Instead, try to recharge when the battery reaches around 20 to 30 percent. Also, avoid leaving the vacuum on the charger for extended periods after it is fully charged, as this can stress the battery cells. The V11’s smart battery management system helps, but you can further extend battery health by storing the vacuum in a cool, dry place away from direct sunlight and extreme temperatures.
The charging contacts on both the vacuum and the can become dirty over time, leading to poor charging performance. Use a dry cotton swab or a soft cloth to gently wipe the metal pins on the vacuum and the corresponding contacts on the charging dock. If you notice that the vacuum is not charging reliably, this simple cleaning step often resolves the issue. Additionally, inspect the charging cable for any fraying or damage, and replace it immediately if you see any exposed wires. A damaged charger is a fire hazard and should never be used.
Finally, practice overall machine hygiene by wiping down the exterior of the vacuum with a slightly damp microfiber cloth. Pay attention to the handle, the trigger, and the LCD screen, as these areas accumulate oils and dirt from your hands. For the LCD screen, use a dry, soft cloth to avoid scratching the display. Also check the rubber gaskets and seals around the wand connections and the bin. If any seals are cracked or missing, order replacements from Dyson to maintain an airtight system. A clean machine is not only more pleasant to use but also operates more efficiently and lasts longer.
Key Takeaways
- ✓ Empty the bin after every use or when it reaches the MAX line to maintain optimal suction and prevent debris compaction.
- ✓ Wash both the pre-filter and post-filter every one to three months with cold water only, and allow them to dry for a full 24 hours before reinstalling.
- ✓ Clear blockages immediately by checking the wand, cleaner head, and hose; use a blunt object to push out debris without damaging the plastic.
- ✓ Clean the brush bar on the cleaner head regularly to remove tangled hair and string, which is the most common cause of reduced cleaning performance.
- ✓ Maintain battery health by recharging when the battery reaches 20-30% and storing the vacuum in a cool, dry environment away from extreme temperatures.
Frequently Asked Questions
Can I use soap or detergent to wash my Dyson V11 filters?
No, you should never use soap, detergent, or any cleaning chemicals on your Dyson V11 filters. These substances can leave a residue that clogs the microscopic pores in the filter material, reducing airflow and suction power. Additionally, soap residue can create a sticky surface that attracts more dust, causing the filter to clog faster. Always use cold running water only, and gently squeeze the filter to work the water through the material.
How often should I replace the filters on my Dyson V11?
While the filters are washable and designed to last the lifetime of the machine, they will eventually wear out. You should replace the filters approximately every two to three years, or sooner if you notice that washing them no longer restores suction, or if the filter material appears frayed, torn, or compressed. Dyson recommends using only genuine Dyson replacement filters to ensure proper fit and performance.
My Dyson V11 has a bad smell. What could be the cause and how do I fix it?
A bad smell is most commonly caused by a wet or dirty filter, or by debris that has become trapped and is rotting inside the machine. First, remove and wash both filters, ensuring they dry completely for 24 hours. Next, check the bin and the wand for any damp debris or organic matter that may be decomposing. If the smell persists, check the cleaner head for trapped hair or dirt. In rare cases, the smell may come from the motor if it has been exposed to moisture, which would require professional service.
Is it safe to use my Dyson V11 on hardwood floors?
Yes, the Dyson V11 perfectly safe for hardwood floors, especially when using the High Torque cleaner head or the soft roller cleaner head (sold separately). The vacuum has a hard floor mode that can be selected on the LCD screen, which reduces the brush bar speed to prevent scattering debris. However, you should always ensure that the brush bar is free of debris and that the wheels are clean to avoid scratching the floor. Avoid using the vacuum on wet hardwood floors.
What should I do if my Dyson V11 battery stops holding a charge?
If your battery stops holding a charge, first check the charging contacts on the vacuum and the dock for dirt and clean them with a dry cotton swab. Ensure the charger is plugged into a working outlet. If the battery still does not charge, it may have reached the end of its lifespan, which is typically three to five years depending on usage. Dyson sells replacement batteries that are user-replaceable. Always purchase a genuine Dyson battery to ensure compatibility and safety.
Conclusion
Maintaining your Dyson V11 cordless vacuum does not have to be a chore. By following the simple, regular steps outlined in this guide—emptying the bin, washing the filters, clearing blockages, and cleaning the cleaner head—you can ensure that your vacuum delivers the powerful, consistent performance you expect. The key is consistency; a few minutes of maintenance each week will save you from costly repairs and frustrating loss of suction down the line. Your V11 is a precision tool, and treating it with care will reward you with years of reliable service.
Now is the perfect time to give your vacuum a thorough check-up. Start by washing the filters and inspecting the brush bar for tangles. Set a recurring monthly reminder on your phone to perform a quick inspection. By taking these proactive steps, you are not just cleaning your vacuum; you are protecting your and ensuring that every room in your home gets the deep clean it deserves. Your Dyson V11 is ready to work—make sure it is ready to perform at its best.

Liam Parker covers robot vacuums, cordless vacuums, and smart home cleaning technology, focusing on practical comparisons, features, performance, and buying advice.
Related posts
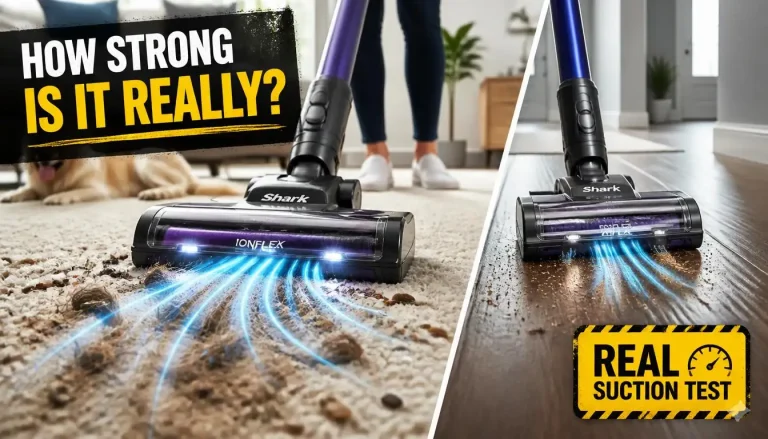 Shark IonFlex Suction Power: How Strong Is It Really?
If you are wondering how much suction does the shark ionflex cordless vacuum have, the answer depends entirely on which power mode you select. In standard…
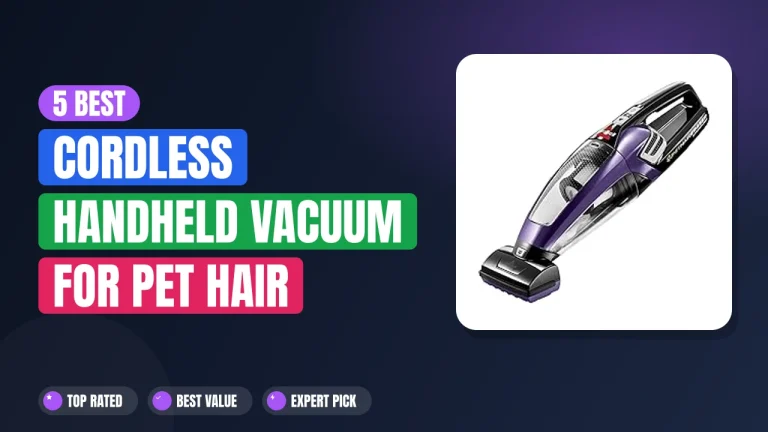 5 Best Cordless Handheld Vacuum for Pet Hair 2026
Every dog owner knows the battle of fur on furniture and car seats. Finding the right best cordless handheld vacuum for pet hair comes down to…
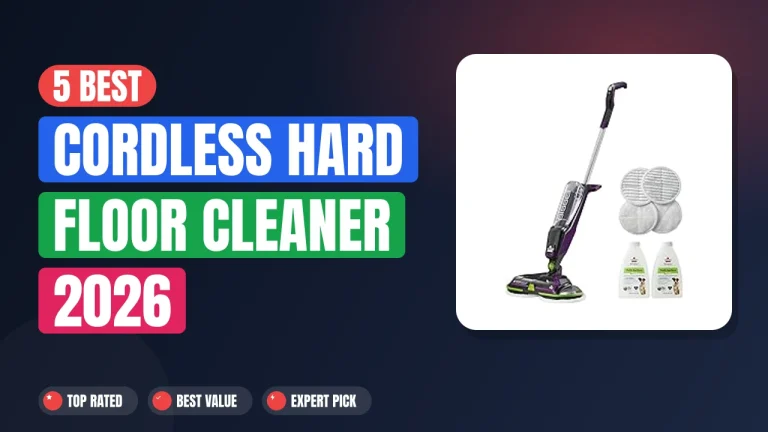 5 Best Cordless Hard Floor Cleaner 2026
Keeping hard floors clean without the hassle of cords is something many homeowners now expect from their daily routine. A best cordless hard floor cleaner…