
Master Your Maintenance: The Complete Guide on How to Clean Dyson V8 Cordless Vacuum in 2026
Your Dyson V8 cordless vacuum is a powerhouse of suction, but like any high-performance tool, it requires regular care to maintain its peak efficiency. Over time, dust, hair, and debris accumulate in the filter, brush bar, and bin, leading to reduced suction power, unpleasant odors, and even potential damage to the motor. If you have noticed your V8 struggling to pick up pet hair or emitting a musty smell, it is not a sign of failure—it is a clear signal that a deep clean is overdue.
Understanding how to clean your D V8 cordless vacuum not just about keeping it looking new; it is about preserving its lifespan and ensuring it continues to deliver the powerful performance you paid for. In this comprehensive guide, we will walk you through every step of the cleaning process, from the washable filter to the tangle-free brush bar. By the end, you will have the knowledge and confidence to restore your vacuum to factory-like condition, saving you money on repairs and replacements. Let us dive into the essential maintenance routine for 2026.
Step 1: Preparing Your Dyson V8 for a Deep Clean
Before you begin disassembling your vacuum, safety and preparation are paramount. First, ensure the vacuum is completely turned off and disconnected from its charging dock. The Dyson V8 has a trigger mechanism that activates the motor, so you must be certain no power is flowing. Next, remove the battery by pressing the red release button located on the handle. This is a critical step because it prevents accidental activation and protects the sensitive electronic components from moisture during cleaning.
Once the battery is removed, gather your cleaning supplies. You will need a bowl of lukewarm water, a soft-bristled brush (an old toothbrush works perfectly), a microfiber cloth, and a pair of scissors or a seam ripper for cutting tangled hair. Avoid using any harsh chemicals, bleach, or abrasive cleaners, as these can damage the plastic and rubber seals of the vacuum. A simple solution of mild dish soap and water is all you for the washable parts.
Finally, find a well-lit workspace with a flat surface, such as a kitchen counter or a garage table. Lay down an old towel to catch any falling debris. This preparation will make the process smoother and prevent small parts like screws or the pre-filter from rolling away. Remember, a clean workspace leads to a clean vacuum, so take these five minutes to set yourself up for success.
Step 2: Cleaning the Clear Bin and Cyclone Assembly
The clear bin is the most visible part of your Dyson V8, and it is also where the majority of dirt and dust accumulates. To clean it, press the red bin release button located near the base of the handle and slide the bin downward to remove it. Do not press the trigger while doing this, as it can release the bin unexpectedly. Once removed, empty the contents into a trash bag. For a thorough clean, you will need to separate the bin from the cyclone assembly. Look for the small gray slider on the side of the bin; slide it toward the base to unlock the bottom flap, then twist the entire bin counterclockwise to detach it from the cyclone.
Now, take the bin and the assembly to your sink. Rinse the bin with lukewarm water, using your soft-bristled brush to scrub away any caked-on dirt from the inner walls and the rubber seal at the bottom. Pay special attention to the rubber seal, as a dirty seal can cause air leaks and reduce suction. For the cyclone assembly, do not submerge it in water. Instead, hold it upside down and tap it gently against a hard surface to dislodge any fine dust trapped in the cyclones. You can also use a dry brush to clean the outer vents.
After rinsing the bin, shake off any excess water and set it aside to dry completely. This is a crucial step—moisture left inside the bin can lead to mold growth and foul odors. Allow both the bin and the cyclone assembly to air dry for at least 24 hours before reassembling. While they are drying, you can move on to cleaning the filter, which is the single most important component for maintaining suction power.
Step 3: Washing the Post-Motor Filter (The Most Critical Step)
The Dyson V8 has a single, washable post-motor filter located at the of the vacuum, near the handle. This filter is responsible for capturing microscopic particles and ensuring that the air expelled from the vacuum is clean. Over time, this filter becomes clogged with fine dust, which is the number one cause of reduced suction in the V8. To access it, simply twist the filter cap counterclockwise and pull it straight out. You will see a cylindrical, fabric-covered foam filter.
Do not be alarmed if the filter looks gray or black; this is normal. To clean it, hold the filter under a stream of lukewarm tap water with the dirty side facing downward. Gently squeeze the filter to work the water through the foam, but do not twist or wring it, as this can damage the internal structure. Continue rinsing until the water runs clear. If the filter is extremely dirty, you can use a tiny drop of mild dish soap, but rinse thoroughly to remove all soap residue.
Once clean, shake off the excess water and place the filter upright on a towel in a well-ventilated area. is essential that the filter is 100% dry before you reinstall it. A wet filter can damage the motor and cause a musty smell. Depending on your climate, this can take 24 to 48 hours. For best results, do not use a hairdryer or place the filter on a radiator, as heat can warp the foam. While you wait, you can clean the brush bar and the rest of the vacuum head.
Step 4: Detangling and Cleaning the Brush Bar and Floor Head
The brush bar on your Dyson V8 is a magnet for hair, string, and carpet fibers. A tangled brush bar not only reduces cleaning effectiveness but also puts strain on the motor, causing it to work harder and drain the battery faster. To clean it, first remove the floor head from the wand by pressing the release button on the neck. Turn the floor head over so you can see the brush bar. On the side of the head, you will find a coin slot or a small tab. Use a coin (a US quarter works perfectly) to turn the fastener a quarter turn to the unlock position, then slide the brush bar out.
With the brush bar removed, you will likely see a thick layer of hair and debris wrapped around the bristles. Use your scissors or seam ripper to carefully cut through the hair along the grooves of the brush bar. Work slowly to avoid cutting the bristles themselves. Once the large clumps are removed, use your fingers to pull away the remaining strands. For the end caps of the brush bar, use a dry cloth to wipe away any built-up dust.
While the brush bar is out, inspect the floor head itself. Check the rubber seal along the bottom edge for any tears or debris. Use a damp cloth to wipe down the inside of the head, paying attention to the small air channels. Reinsert the clean brush bar, ensuring it clicks back into place, and lock it with the coin slot. A clean brush bar will spin freely and pick up significantly more debris from your floors, especially pet hair.
Step 5: Reassembly, Maintenance Schedule, and Troubleshooting
After all components are completely dry, it is time to reassemble your Dyson V8. Start by reinserting the dry filter into the back of the vacuum, twisting it clockwise until it clicks. Next, attach the clean cyclone assembly back onto the bin, twisting it clockwise until it locks. Slide the bin back onto the main body of the vacuum until you hear a click. Finally, attach the floor head to the wand. Reinstall the battery by sliding it into the handle until it clicks. Your vacuum is now ready for action.
To keep your Dyson V8 performing like new, establish a regular maintenance schedule. For the filter, wash it every month if you use the vacuum daily, or every three months for lighter use. The bin should be emptied after every use and deep-cleaned every two months. The brush bar should be checked for tangles after every few uses, especially if you have pets or long hair. A simple habit of checking the brush bar while emptying the bin can prevent major clogs.
If you notice that suction is still weak after cleaning, check for blockages in the wand and the hose. The Dyson V8 has a long, flexible hose that can easily become clogged with large debris. Disconnect the wand and look through it with a flashlight. You can also use a long, flexible object like a broom handle to gently push out any obstructions. If the vacuum still does not work, the battery may need replacement, which is a common issue for V8 models after several years of use.
Key Takeaways
- ✓ Always remove the battery before cleaning any part of the Dyson V8 to prevent electrical damage and accidental activation.
- ✓ The post-motor filter is the most critical component for suction; wash it monthly and let it air dry for 24-48 hours before reinstalling.
- ✓ Clean the brush bar regularly by removing it with a coin and cutting away tangled hair with scissors to prevent motor strain.
- ✓ Never submerge the cyclone assembly in water; instead, tap it gently to dislodge dust and wipe it with a dry cloth.
- ✓ Establish a routine: empty the bin after each use, wash the filter monthly, and deep-clean the entire unit every three months.
Frequently Asked Questions
Can I put my Dyson V8 filter in the washing machine?
No, you should never put the Dyson V8 filter in a washing machine or dishwasher. The agitation and spin cycle can damage the foam structure and the internal mesh. Always wash it by hand under lukewarm tap water, gently squeezing until the water runs clear.
Why does my Dyson V8 smell bad even after cleaning the filter?
A persistent bad smell is often caused by moisture trapped in the filter or the bin. Ensure the filter is completely dry (24-48 hours) before reinstalling. Also, check the bin’s rubber seal for trapped debris, and clean the brush bar, as old hair and dirt can create a foul odor when heated by friction.
How often should I replace the Dyson V8 battery?
The Dyson V8 battery typically lasts for 2 to 4 years depending on usage. If you notice the vacuum running for significantly less than the original 40-minute runtime, or if it stops working mid-clean, it is likely time for a replacement. Always use an official Dyson replacement battery for safety and performance.
Can I use a vacuum cleaner to clean my Dyson V8?
While it may seem counterintuitive, you can use separate vacuum with a brush attachment to clean the exterior vents and the cyclone assembly of your Dyson V8. This is especially useful for removing fine dust from hard-to-reach areas. Just be gentle to avoid damaging the plastic.
What should I do if my Dyson V8 brush bar stops spinning?
If the brush bar stops spinning, first check for a large tangle of hair or string that is jamming it. If it is clean, the belt inside the floor head may be broken. You can purchase a replacement floor head or take it to a certified repair center. A non-spinning brush bar will severely reduce carpet cleaning performance.
Conclusion
Learning how to clean your Dyson V8 cordless vacuum is a simple yet powerful skill that extends the life of your investment and ensures your home stays genuinely clean. By following the five steps outlined—preparing your vacuum, cleaning the bin, washing the filter, detangling the brush bar, and reassembling correctly—you can restore lost suction, eliminate odors, and prevent costly repairs. The key is consistency; a few minutes of maintenance each month save you hours of frustration down the line.
Now that you have the complete guide, take action today. Set a reminder on your phone to wash the filter next week, and make it a habit to check the brush bar after every deep clean. Your Dyson V8 is a remarkable machine, but it relies on you to keep it running at its best. With this knowledge, you are no longer just a user—you are a skilled caretaker of your home’s most important cleaning tool. Happy cleaning

Liam Parker covers robot vacuums, cordless vacuums, and smart home cleaning technology, focusing on practical comparisons, features, performance, and buying advice.
Related posts
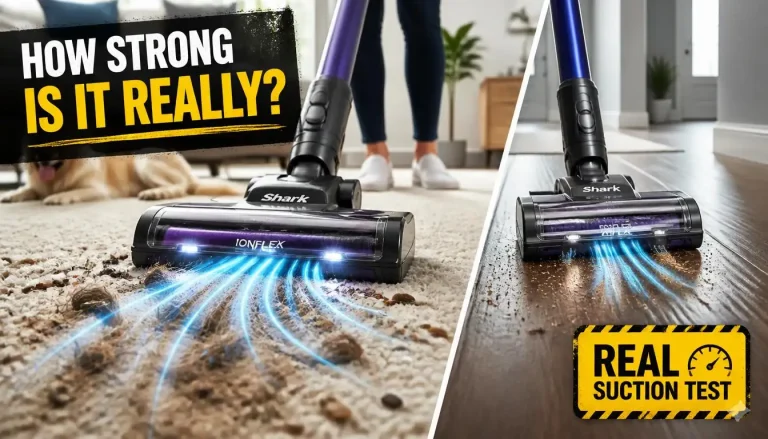 Shark IonFlex Suction Power: How Strong Is It Really?
If you are wondering how much suction does the shark ionflex cordless vacuum have, the answer depends entirely on which power mode you select. In standard…
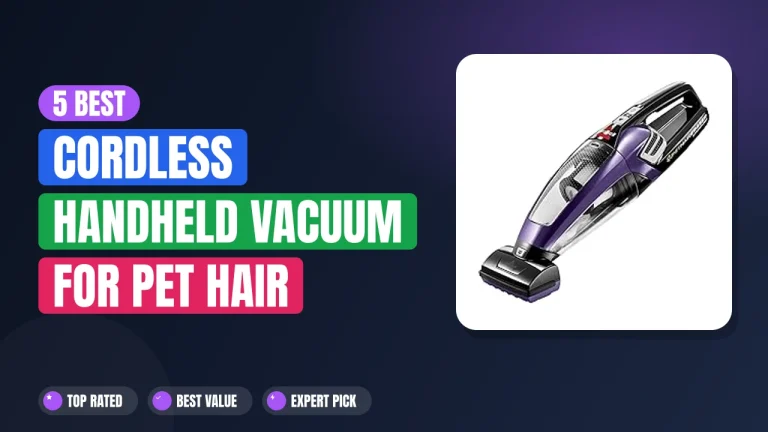 5 Best Cordless Handheld Vacuum for Pet Hair 2026
Every dog owner knows the battle of fur on furniture and car seats. Finding the right best cordless handheld vacuum for pet hair comes down to…
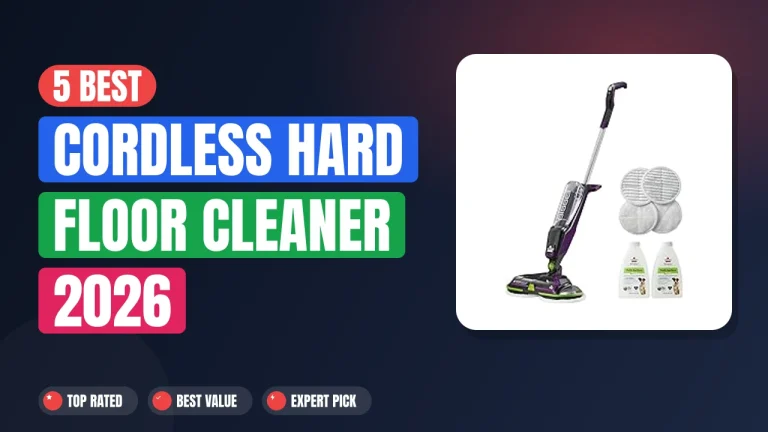 5 Best Cordless Hard Floor Cleaner 2026
Keeping hard floors clean without the hassle of cords is something many homeowners now expect from their daily routine. A best cordless hard floor cleaner…