
The Ultimate Guide to Cleaning Your Cordless Vacuum Cleaner in 2026: Restore Suction and Extend Lifespan
You just finished vacuuming the living room, but as you empty the dustbin, you notice a faint, musty smell. The suction feels weaker than it did last month, and the battery seems to die before you can finish the kitchen. If this sounds familiar, your cordless vacuum cleaner is sending you a clear signal: it needs a deep clean. In 2026, cordless vacuums are more powerful and convenient than ever, but their high-performance motors and sealed systems are uniquely vulnerable to clogs, dust buildup, and bacterial growth.
Neglecting regular maintenance doesn't just reduce cleaning performance; it can permanently damage the motor, shorten battery life, and void your warranty. This guide will walk you through a comprehensive, step-by-step cleaning process for your cordless vacuum, covering everything from the dustbin to the filter and brush roll. By following these instructions, you will restore peak suction, eliminate odors, and add years of reliable service to your investment.
Step 1: Disassembly and Safety Preparation
Before you begin any cleaning, safety is paramount. Always start by removing the battery from your cordless vacuum cleaner. This is a non-negotiable step. Unlike corded models, cordless vacuums store high-voltage energy in lithium-ion batteries. If you accidentally activate the motor while cleaning the brush roll or filter, you could suffer a serious injury or damage the unit. Place the battery in a cool, dry location away from water and cleaning solutions.
Next, consult your user manual. While most cordless vacuums share a similar anatomy—dustbin, filter, brush roll, and wand—the release mechanisms vary significantly between brands like Dyson, Shark, Samsung, and Tineco. Knowing exactly how to detach the dustbin and access the filter will prevent you from breaking plastic clips or latches. Lay down an old towel or newspaper on your work surface to catch any debris that falls out during disassembly.
Finally gather your cleaning tools. You will need a soft-bristled brush (an old toothbrush works perfectly), a microfiber cloth, a bowl of warm water, mild dish soap, and a can of compressed air (optional but highly recommended for electronics). Avoid using harsh chemicals like bleach or ammonia, as these can degrade plastic components and damage sensitive seals. With your battery removed and tools ready, you are prepared to tackle each component systematically.
Step 2: Deep Cleaning the Dustbin and Cyclone Assembly
The dustbin is the most obvious place to start, but a simple empty is not enough. Over time, fine dust particles adhere to the interior walls and the rubber gasket that seals the bin. This buildup creates a breeding ground for bacteria and mold, which causes the unpleasant odors you might notice. Remove the dustbin from the vacuum body and empty its contents into a trash bag. Then, use a dry paper towel to wipe away the bulk of the loose dust.
For a thorough clean, wash the dustbin with warm water and a few drops of mild dish soap. Use a soft brush to scrub the interior, paying special attention to the rubber seal and any crevices where hair and grime accumulate. Rinse thoroughly with clean water to remove all soap residue. Do not use a dishwasher or submerge the entire bin if it contains electronic contacts or sensors. After rinsing, shake off excess water and place the bin upside down on a drying rack for at least 24 hours. Moisture is the enemy of vacuum motors, so ensure the bin is bone-dry before reassembly.
The cyclone assembly, which separates dirt from air, is often overlooked. On many cordless models, this assembly is integrated into the dustbin lid. Use a dry brush or compressed air to dislodge dust trapped in the cyclones. If you see visible clumps of dust, you can gently rinse the cyclone assembly under running water, but check your manual first—some cyclones are not designed to be wet. A clean cyclone assembly is critical for maintaining the high-speed air flow that gives cordless vacuums their impressive suction power.
Step 3: Restoring the Filter for Maximum Airflow
The filter is the single most important component for maintaining suction. A clogged filter starves the motor of air, causing it to work harder, overheat, and lose efficiency. Most cordless vacuums use a combination of a washable foam pre-filter and a HEPA-style main filter. Locate the filter housing, which is usually behind the dustbin or near the motor. Remove the filter carefully, as it will be coated in fine dust.
For washable filters, tap them gently over a trash can to remove loose debris. Then, rinse them under cold running water from the inside out. This means running water through the clean side of the filter first to push dirt out the dirty side. Do not use soap, as it can leave a residue that clogs the filter fibers. Continue rinsing until the water runs clear. Gently squeeze the filter to remove excess water—do not wring or twist it, as this can tear the material. For non-washable filters (often labeled as "permanent" or "lifetime"), use a soft brush or compressed air to clean them. Never wash a non-washable filter.
The most critical rule for filter maintenance is patience. Allow the filter to air dry completely for at least 24 to 48 hours. Installing a damp filter is a common mistake that leads to mold growth inside the vacuum and can cause the motor to short-circuit. To speed up drying, place the filter near a fan or in a warm, dry room, but avoid direct sunlight or a hair dryer, which can warp the plastic frame. Once dry, reinstall the filter securely. A clean, dry filter is the single best way to restore your vacuum's original suction power.
Step 4: Untangling and Cleaning the Brush Roll
The brush roll is the frontline warrior against carpet fibers, pet hair, and debris, but it is also the part most prone to catastrophic tangles. A brush roll wrapped in hair and string cannot spin freely, which dramatically reduces cleaning effectiveness and strains the motor. Begin by removing the brush roll from the head. Most models have a release tab or require a coin to unlock the end cap. Once removed, lay the brush roll on your work surface.
Use a seam ripper, a pair of scissors, or a specialized pet hair removal tool to cut and pull away the hair and fibers wrapped around the bristles. Work slowly and carefully to avoid cutting the bristles themselves. Pay special attention to the bearings at each end of the roller, as hair wrapped tightly around these points can cause the brush to seize up completely. After removing the bulk of the tangles, use a damp cloth to wipe down the brush roll, removing any sticky residue or embedded dirt.
While the brush roll is removed, inspect the vacuum head itself. Check the air channel leading from the brush roll to the dustbin for blockages. Use a long, flexible tool like a pipe cleaner or a straightened coat hanger to dislodge any clogs. Also, clean the small rubber flaps or squeegees on the vacuum head, as these can accumulate fine dust and lose their sealing ability. Reinstall the brush roll only after it is completely dry and free of tangles. A clean brush roll will not only pick up more dirt but will also reduce the strain on your battery, extending its runtime per charge.
Step 5: Maintaining the Battery and External Surfaces
The battery is the heart of your cordless, and its health directly impacts performance. While you cannot "clean" the internal cells, you can maintain the battery contacts. Over time, dust and grime can build up on the metal terminals where the battery connects to the vacuum body. Use a dry, clean cloth or a cotton swab dipped isopropyl alcohol to gently wipe these contacts. This ensures a strong electrical connection, preventing intermittent power loss and charging issues.
For the external surfaces, use a microfiber cloth slightly dampened with water to wipe down the wand, handle, and vacuum body. Avoid getting moisture near any charging ports or buttons. For stubborn scuffs or sticky residue, a tiny amount of mild dish soap on the cloth is safe. Do not use abrasive cleaners or scouring pads, as they will scratch the plastic finish. Pay attention to the trigger or power button; crumbs and dust can get lodged here, causing the button to stick. Use a toothpick or compressed air to clear these areas.
Finally, consider your storage habits. Do not store your cordless vacuum in direct sunlight or in a hot garage, as extreme heat degrades lithium-ion batteries. Ideally, store it in a cool, dry place with the battery at a partial charge (around 50%) if you are not using it for extended period. By keeping the external components clean and the battery contacts free of debris, you ensure that your vacuum is always ready to perform at its best when you need it.
Key Takeaways
- ✓ Always remove the battery before performing any cleaning or maintenance on your cordless vacuum.
- ✓ Wash the dustbin and filter with warm water only; allow 24-48 hours for complete drying before reassembly.
- ✓ Use a seam ripper or scissors to carefully cut away hair and string from the brush roll to prevent motor strain.
- ✓ Clean the battery contacts with a dry cloth or isopropyl alcohol to ensure a strong electrical connection.
- ✓ Store your cordless vacuum in a cool, dry place and avoid extreme temperatures to prolong battery life.
Frequently Asked Questions
How often should I clean my cordless vacuum filter?
For optimal performance, clean the washable filter every 1-2 months, or more frequently if you have pets or a large home. If you notice a significant drop in suction, clean the filter immediately. Replace non-washable filters every 6-12 months, depending on usage.
Can I put my cordless vacuum dustbin in the dishwasher?
No, you should never put the dustbin in a dishwasher. The high heat and harsh detergents can warp the plastic, damage the rubber seals, and ruin any electronic components. Always hand wash with mild soap and warm water, then air dry.
Why does my cordless vacuum smell bad even after I empty the bin?
A bad smell is usually caused by bacteria and mold growing on a damp filter or inside the dustbin. You must ensure the filter and dustbin are completely dry before reassembling the vacuum. Also, clean the rubber gasket on the dustbin thoroughly as it traps moisture and debris.
My brush roll won't spin. What should I do?
First, turn off the vacuum and remove the battery. Check the brush roll for hair or string wrapped tightly around the ends. If it is clear, inspect the belt (if your model has one) for breakage. On many cordless models, the motor is directly driven, so a non-spinning brush roll often indicates a clog in the air path or a faulty motor that requires professional service.
Is it safe to use compressed air to clean my vacuum's motor?
Yes, using compressed air is safe and effective for cleaning the motor housing and hard-to-reach areas like the cyclone assembly. However, always hold the can upright and use short bursts to avoid blowing moisture into the motor. Never use compressed air on the filter, as it can force fine dust deeper into the filter fibers.
Conclusion
Maintaining your cordless vacuum cleaner is not a chore reserved for when it breaks down; it is a simple, proactive routine that pays dividends in performance and longevity. By following the five steps outlined in this guide—disassembling safely, deep cleaning the dustbin, restoring the filter, untangling the brush roll, and maintaining the battery—you can keep your vacuum running like new for years. The key is consistency: a 15-minute cleaning session every few months is far easier than dealing with a broken motor or a dead battery.
Now is the perfect time to put this knowledge into action. Grab your tools, remove the battery, and give your cordless vacuum the care it deserves. You will be rewarded with powerful suction, fresh-smelling air, and a device that reliably keeps your home clean. Share this guide with a friend who complains about their vacuum losing power—they will thank you for it.

Liam Parker covers robot vacuums, cordless vacuums, and smart home cleaning technology, focusing on practical comparisons, features, performance, and buying advice.
Related posts
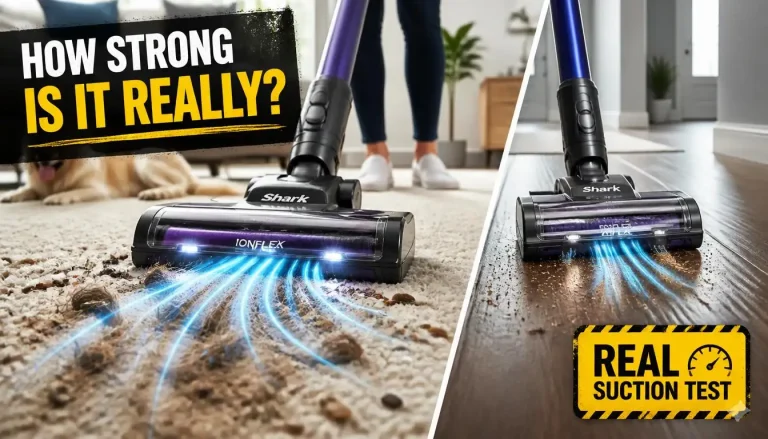 Shark IonFlex Suction Power: How Strong Is It Really?
If you are wondering how much suction does the shark ionflex cordless vacuum have, the answer depends entirely on which power mode you select. In standard…
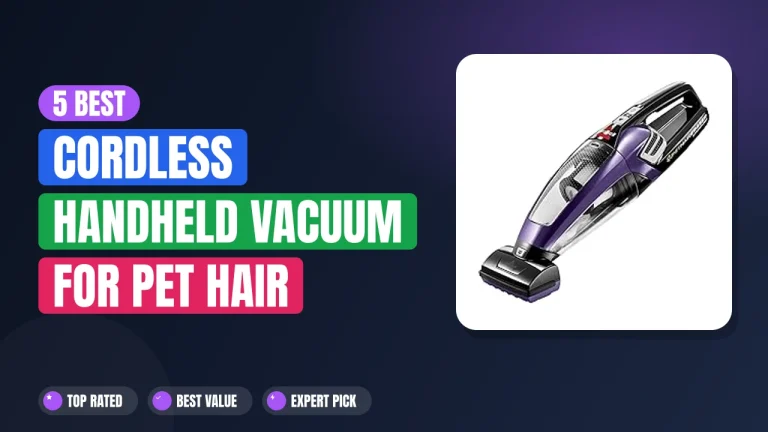 5 Best Cordless Handheld Vacuum for Pet Hair 2026
Every dog owner knows the battle of fur on furniture and car seats. Finding the right best cordless handheld vacuum for pet hair comes down to…
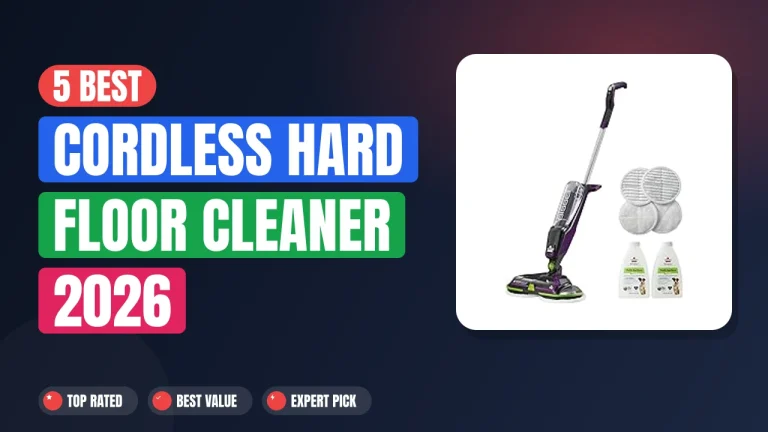 5 Best Cordless Hard Floor Cleaner 2026
Keeping hard floors clean without the hassle of cords is something many homeowners now expect from their daily routine. A best cordless hard floor cleaner…