
The Ultimate Guide to Cleaning Your Dyson V15 Cordless Vacuum: 2026 Maintenance Masterclass
You have invested in one of the most powerful cordless vacuums on the market, the Dyson V15 Detect. It picks up microscopic dust, displays particle counts on its LCD screen, and delivers deep cleaning performance. But even the best technology needs regular care. If you have noticed a drop in suction, a strange smell, or the dreaded flashing red light on the trigger, your vacuum is telling you it is time for a thorough clean. Ignoring this maintenance can lead to permanent motor damage and a costly replacement.
This guide is your comprehensive, step-by-step manual for cleaning every component of your Dyson V15. We will cover the correct disassembly methods, the tools you need, and the common mistakes that owners make. By the end of this article, you will know exactly how to restore your vacuum to factory-level performance, extend its lifespan, and keep your home genuinely clean. Whether you are a first-time Dyson owner or a seasoned user, these 2026 best practices will save you time, money, and frustration.
Understanding Your V15: The Anatomy of a High-Performance Vacuum
Before you start cleaning, it is critical to understand what you are working with. The Dyson V15 Detect is not a simple bag-and-motor machine. It features a sophisticated cyclone system that spins air at over 100,000 RPM to separate dust from the airflow. This system relies on precise seals and pathways. When these pathways become clogged with hair, fine dust, or debris, the vacuum loses its efficiency. The most common areas that require cleaning are the bin, the pre-filter, the post-motor filter, the brush bar, and the wand.
The V15 also includes a laser head on the Fluffy cleaner head, which reveals microscopic dust on hard floors. This laser assembly is delicate and can be damaged by improper cleaning. Additionally, the LCD screen provides diagnostic information. If you see a "Blockage" message or a pulsing red ring, the vacuum is actively telling you where the problem is located. Learning to read these signals will save you from unnecessary disassembly. For example, a pulsing red light on the trigger usually indicates a blockage in the main airway, while a solid red light on the battery means the battery is too hot or too cold.
Finally, understand that the V15 has two separate filters. The pre-filter is a washable mesh screen located inside the bin. The post-motor filter is a larger, pleated HEPA-style filter located on the back of the. Both must be cleaned regularly, but they require different methods. The pre-filter can be rinsed more aggressively, while the post-motor filter needs gentle handling to avoid tearing the delicate media. Knowing this distinction is the first step to effective maintenance.
Step-by-Step Disassembly: How to Safely Take Apart Your V15
Begin by removing the battery. Press the red button on the handle and slide the battery pack off. This is a non-negotiable safety step. With the battery removed, press the bin release button (the red lever near the bottom of the bin) and pull the bin away from the main body. Empty the bin into a trash can. You will likely see a thick layer of dust and debris clinging to the inner mesh screen. Do not use a metal tool to scrape this off, as you can damage the mesh. Instead, use the included Dyson cleaning tool or a soft brush.
Next, remove the wand and the cleaner head. Press the release button on the wand and pull it free from the main body. Then, press the release button on the cleaner head to detach it from the wand. Now, locate the post-motor filter on the back of the main body. Twist the filter cover counter-clockwise and pull it out. You will see a cylindrical, pleated filter. Remove this filter and set it aside., remove the brush bar from the cleaner head. On the V15, there is usually a red tab on the side of the head. Push this tab down and slide the brush bar out. If you have the Fluffy head, the brush bar is a soft roller that can be removed by twisting the end cap.
For the pre-filter, look inside the empty bin. You will see a conical mesh screen. This is the pre-filter. It is held in place by a plastic ring. Gently twist the ring counter-clockwise and lift the entire pre-filter assembly out of the bin. You now have all the major components disassembled. Lay them out on a towel in a well-ventilated area. Take a photo with your phone before proceeding, so you have a reference for reassembly. This is especially helpful for the complex cyclone assembly inside the bin.
Deep Cleaning the Filters: The Heart of Your Vacuum's Performance
The post-motor filter is the most critical component for air quality. Take this filter to a sink and run cold tap water over the pleated surface. Do not use soap or detergent, as the residue can damage the motor and reduce filtration. Hold the filter so the water flows from the inside out, meaning the dirty side is facing away from the faucet. Gently tap the filter against the side of the sink to dislodge trapped dust. Continue rinsing until the water runs clear. This may take several minutes. Do not twist or wring the filter, as this can tear the pleats. Shake off excess water and set it on a towel to dry for at least 24 hours. The filter must be completely bone-dry before reinstallation. A damp filter will cause mold growth and motor failure.
The pre-filter requires a different approach. This mesh screen catches large debris before it reaches the cyclone. Rinse it under cold water, using your fingers to rub the mesh gently. You can use a soft brush to remove stubborn dust. Unlike the post-motor filter, you can use a tiny amount of mild dish soap if the mesh is greasy from cooking residue. Rinse thoroughly to remove all soap. Shake the pre-filter vigorously to remove water from the mesh holes. Set it upright to dry for 12 hours. Do not put either filter in a microwave, oven, or dishwasher. Heat will warp the plastic and destroy the filtration media.
While the filters are drying, inspect the rubber seals on the bin and the main body. These seals are often the cause of suction loss. Use a damp microfiber cloth to wipe away any dust or hair from the seals. If a seal is torn or cracked, you will need to replace it. Dyson sells seal replacement kits. A compromised seal will allow air to bypass the cyclones, drastically reducing performance. This is a common issue that many owners overlook when they only clean the filters.
Cleaning the Brush Bar, Wand, and Cleaner Head: Removing Tangled Hair and Blockages
The brush bar is the most labor-intensive part to clean. On the V15, the brush bar is designed to be removed without tools. Once removed, you will likely see hair, string, and fibers tightly wound around the bristles. Use a pair of scissors with a blunt tip or the included Dyson cleaning tool to cut through the hair. Slide the cut hair off the bar. Do not pull the hair, as this can bend the bristles permanently. For the Fluffy head, the soft roller can be cleaned by running it under cold water and rubbing the fabric to release dust. Allow it to dry completely before reinserting.
Next, inspect the wand. Shine a flashlight through the clear section of the wand. You will often find a clump of debris stuck at the bend or near the connection points. If you see a blockage, use a long, flexible object like a broom handle or a plumbing snake to push the debris out. Do not use a metal coat hanger, as it can scratch the interior of the wand and create rough spots where future blockages will form. If the wand is clear, wipe the inside with a dry microfiber cloth attached to a stick.
The cleaner head itself needs attention. Flip the head over and look at the soleplate. Hair can wrap around the axle of the brush bar inside the head. Use a pair of tweezers or the cleaning tool to pull out any hair from the bearings. Also, check the small rollers on the bottom of the head. These can become jammed with debris, causing the head to drag on carpets. Clean these rollers with a damp cloth. For the laser head, use a dry, soft cloth to gently wipe the laser lens. Do not use water or cleaning solutions on the laser, as this can damage the optics.
Reassembly and Final Checks: Restoring Peak Performance
Once all components are completely dry, it is time to reassemble. Start by reinstalling the pre-filter into the bin. Align the tabs and twist clockwise until it clicks. Insert the bin back onto the main body until you hear a click. Reinstall the post-m filter by sliding it into its housing and twisting the cover clockwise. Reattach the wand and the cleaner head. Insert the brush bar into the head, making sure the end cap snaps into place. Finally, slide the battery back onto the handle until it clicks.
Before turning the vacuum on, perform a visual inspection. Ensure the bin is properly seated and the filter cover is flush with the body. Check that the brush bar spins freely by rotating it with your finger. If it feels stiff, you may have missed some hair. Turn the vacuum on in a low-power mode. Listen for any unusual rattling or whistling sounds, which indicate a loose component or a remaining blockage. Check the LCD screen. It should show a green ring and normal suction levels. If you see a red light, recheck your work.
To maintain peak performance, establish a cleaning schedule. Clean the pre-filter every month. Clean the post-motor filter every three months. Clean the brush bar after every use if you have pets. Empty the bin after every cleaning session. Do not let the bin become overfilled, as this forces dust into the motor. By following this routine, your Dyson V15 will perform like new for years. A well-maintained V15 can easily last a decade, while a neglected one may fail within two years.
Key Takeaways
- ✓ Always remove the battery before disassembling any part of the vacuum for safety.
- ✓ Wash the post-motor filter with cold water only, no soap, and let it dry for 24 hours.
- ✓ pre-filter can be washed with mild soap, but must be rinsed thoroughly and dried completely.
- ✓ Use blunt scissors or the Dyson cleaning tool to cut hair off the brush bar, never pull it.
- ✓ Establish a regular cleaning schedule: bin after every use, pre-filter monthly, post-motor filter quarterly.
Frequently Asked Questions
How often should I wash the Dyson V15 filters?
The pre-filter (inside the bin) should be washed at least once a month, or more frequently if you vacuum a lot of fine dust or pet hair. The post-motor filter (on the back) should be washed every three months. If you notice a drop in suction or a musty smell, wash both filters immediately.
Why is my Dyson V15 flashing a red light on the trigger?
A pulsing red light on the trigger indicates a in the main airway. This could be in the wand, the cleaner head, the bin inlet, or the cyclone assembly. Check each component for clogs. A solid red light on the battery means the battery is too hot or too cold. Let it cool down or warm up to room temperature.
How do I clean the laser on the Fluffy cleaner head?
The laser lens is delicate. Use a dry, soft microfiber cloth to gently wipe the lens. Do not use water, alcohol, or any cleaning solutions, as these can damage the laser diode. If the laser is not working, it may need professional repair.
My vacuum smells bad after cleaning. What did I do wrong?
The most common cause of a bad smell is a damp filter. You must let both filters dry for a full 24 hours in a well-ventilated area If you put a damp filter back in, mold and bacteria will grow, causing a foul odor. If the smell persists after drying, you may need to replace the filters.
Conclusion
Maintaining your Dyson V15 cordless vacuum is not complicated task, but it does require attention to detail and a consistent schedule. By following the steps outlined in this guide, you can prevent the most common issues that lead to performance loss, such as clogged filters, tangled brush bars, and blocked airways. Remember that the two filters are the lungs of your machine, and the brush bar is its primary contact point with your floors. Keeping these components clean will ensure your vacuum continues to deliver the powerful suction and advanced particle detection that made you choose it in the first placeNow that you have the knowledge, take action. Set a recurring reminder on your phone to wash the filters. Keep a pair of blunt scissors near your charging station for quick brush bar maintenance. And most importantly, do not wait for a warning light to appear. Proactive maintenance is the key to longevity. Your Dyson V15 is a precision tool, and with proper care, it will serve you reliably for many years. Go ahead, give your vacuum the deep clean it deserves, and enjoy the satisfaction of a truly clean home.

Liam Parker covers robot vacuums, cordless vacuums, and smart home cleaning technology, focusing on practical comparisons, features, performance, and buying advice.
Related posts
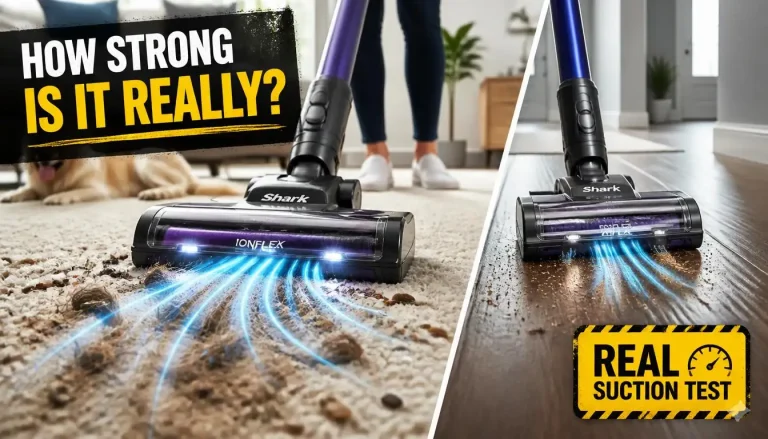 Shark IonFlex Suction Power: How Strong Is It Really?
If you are wondering how much suction does the shark ionflex cordless vacuum have, the answer depends entirely on which power mode you select. In standard…
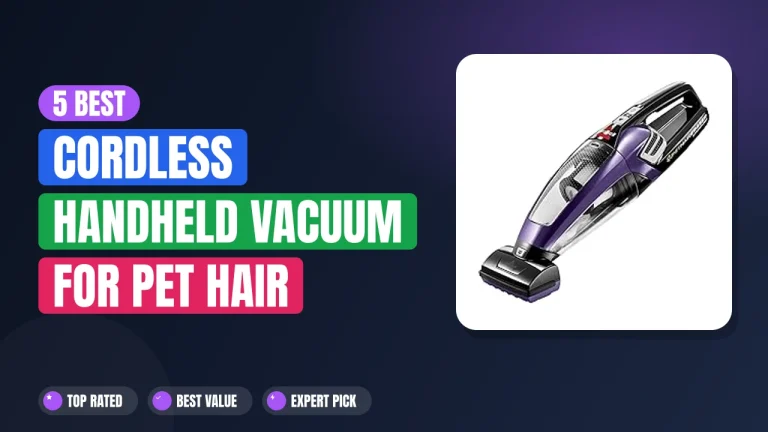 5 Best Cordless Handheld Vacuum for Pet Hair 2026
Every dog owner knows the battle of fur on furniture and car seats. Finding the right best cordless handheld vacuum for pet hair comes down to…
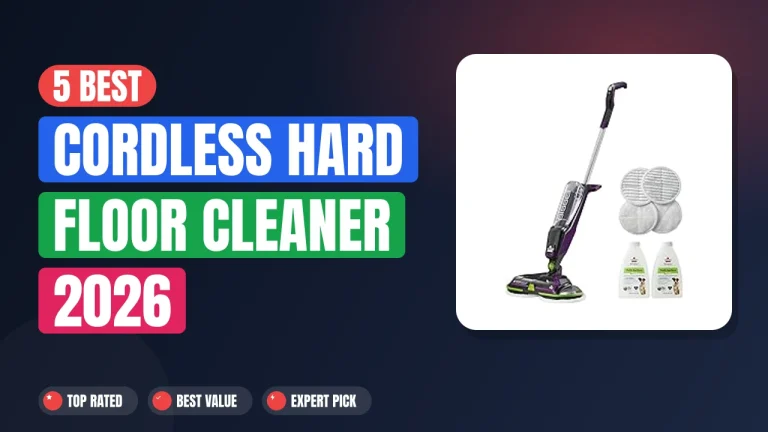 5 Best Cordless Hard Floor Cleaner 2026
Keeping hard floors clean without the hassle of cords is something many homeowners now expect from their daily routine. A best cordless hard floor cleaner…